半径1の球を 旧中心 0,0,0
名前 基準球体
基準球体 表面の1点に
1辺2の正方形を 接点で接触させる
基準球体と この正方形を貫く垂線が直角
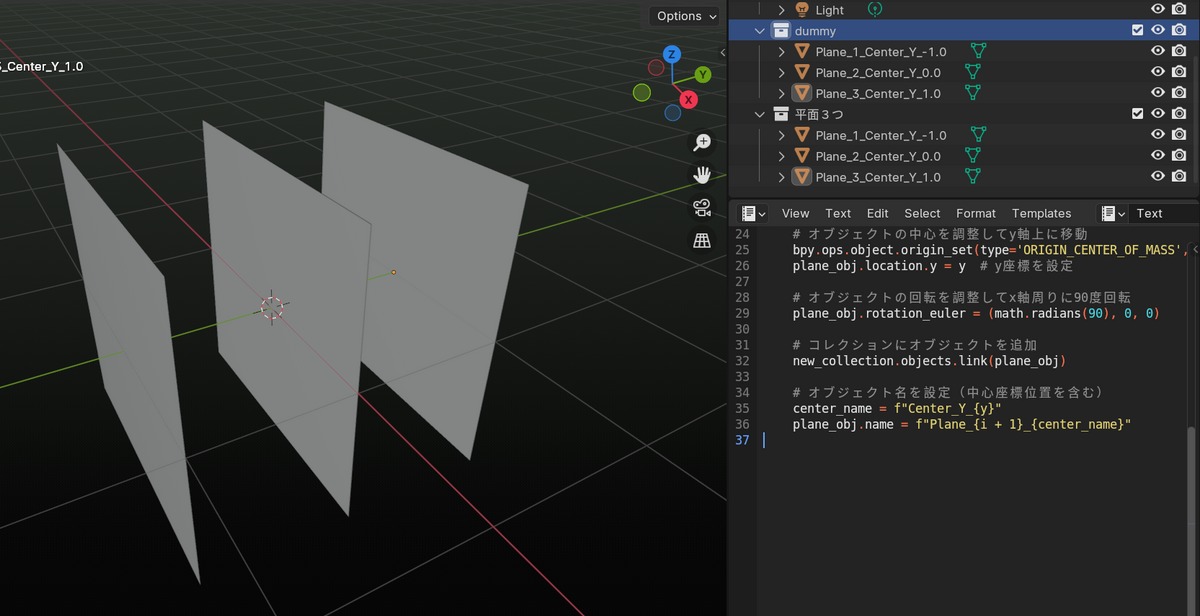
この接点位置を y=1に作って
この接点位置を指定できるように 冒頭定義
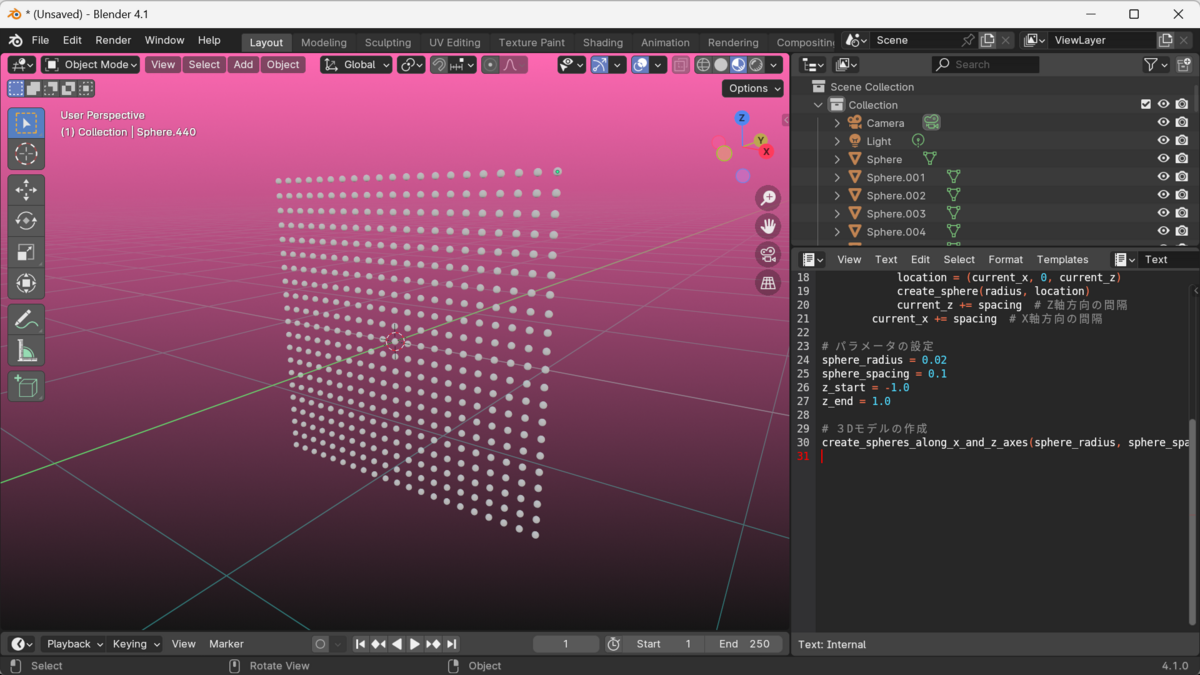
import bpy
import math
# このスクリプトでは、start_position、pass_through_position_1、pass_through_position_2、およびspeedに基づいて、
# 球体の移動アニメーションとフレーム数が自動的に調整されます。
# speedの値を大きくすると、球体の移動速度が増加し、結果としてフレーム数も自動的に調整されます。
# 球体の移動速度(blender unit per second)
speed = 1.0 # blender unit per second (increasing this value will increase the speed of the sphere)
# 球体の半径
radius = 0.15
# スタート位置 (x, y, z)
start_position = (0, 1, 0)
# 通過位置1 (x, y, z)
pass_through_position_1 = (1, 1, 0)
# 通過位置2 (x, y, z)
pass_through_position_2 = (0, 1, 0)
# 移動距離と時間を計算する関数
def calculate_distance_and_duration(start_pos, end_pos):
distance = math.sqrt*1
total_distance2, total_duration2 = calculate_distance_and_duration(pass_through_position_1, pass_through_position_2)
set_animation(obj, pass_through_position_1, pass_through_position_2, int*2
total_distance3, total_duration3 = calculate_distance_and_duration(pass_through_position_2, start_position)
set_animation(obj, pass_through_position_2, start_position, int*3
# アニメーションの終了時に現在のフレームをリセットしてループ再生する
total_frames = int((total_duration + total_duration2 + total_duration3 + 2) * bpy.context.scene.render.fps)
bpy.context.scene.frame_start = 1
bpy.context.scene.frame_end = total_frames
bpy.context.scene.frame_current = 1
# 球体のアニメーションを設定
animate_sphere(start_position, pass_through_position_1, pass_through_position_2)
*1:end_pos[0] - start_pos[0])**2 + (end_pos[1] - start_pos[1])**2 + (end_pos[2] - start_pos[2])**2)
duration = distance / speed
return distance, duration
# 移動アニメーションを設定する関数
def set_animation(obj, start_pos, end_pos, start_frame, end_frame):
distance, duration = calculate_distance_and_duration(start_pos, end_pos)
# 移動アニメーションの設定
obj.location = start_pos
obj.keyframe_insert(data_path="location", frame=start_frame)
obj.location = end_pos
obj.keyframe_insert(data_path="location", frame=end_frame)
# 球体のアニメーションを設定する関数
def animate_sphere(start_position, pass_through_position_1, pass_through_position_2):
# スタート位置に球体を生成
bpy.ops.mesh.primitive_uv_sphere_add(radius=radius, location=start_position)
obj = bpy.context.active_object
obj.name = "Sphere"
# 球体の移動アニメーションを設定
total_distance, total_duration = calculate_distance_and_duration(start_position, pass_through_position_1)
set_animation(obj, start_position, pass_through_position_1, 1, int(total_duration * bpy.context.scene.render.fps
*2:total_duration + 1) * bpy.context.scene.render.fps),
int((total_duration + total_duration2 + 1) * bpy.context.scene.render.fps
*3:total_duration + total_duration2 + 2) * bpy.context.scene.render.fps),
int((total_duration + total_duration2 + total_duration3 + 2) * bpy.context.scene.render.fps